How To Check Oil In Car
A practical step-by-step guide to how to check oil in car, including preparation, instructions, common issues, tips, and next steps.

How To Check Oil In Car
Learning how to check the oil in your car is a fundamental part of vehicle maintenance that can save you from costly repairs. This simple guide will walk you through the process, step-by-step, ensuring you understand not only how to check the level but also how to interpret the oil's condition. Regularly checking your engine oil helps maintain engine health, prevent breakdowns, and ensures your car runs smoothly, making it an essential skill for every driver.
Fast Answer
- Park on Level Ground: Ensures an accurate reading.
- Engine Off and Cool: Wait at least 15-20 minutes after driving.
- Locate and Clean Dipstick: Pull out, wipe clean with a rag.
- Reinsert and Re-read: Push fully in, pull out, check level between 'min' and 'max' marks.
Before You Start
- Ensure your car is parked on a flat, level surface. Parking on a slope can give you an inaccurate reading.
- Have your car's owner's manual handy. It contains specific details about your car's oil capacity, type, and recommended checking procedure.
- Gather a clean rag or paper towels to wipe the dipstick.
- If you anticipate needing to top up the oil, have a funnel and the correct type of engine oil ready. Check your owner's manual for the exact oil specification (e.g., 5W-30, 0W-20).
- Make sure the engine has been off for at least 15-20 minutes, preferably longer, to allow all the oil to drain back into the sump. Checking a hot engine can give an inaccurate reading and poses a burn risk.
Step-by-Step Instructions
1. Prepare Your Vehicle and Engine
Before you begin the process of how to check oil in car, proper preparation is key for an accurate reading and your safety. First, ensure your vehicle is parked on a completely flat and level surface. Any incline, even a slight one, can cause the oil to sit unevenly in the sump, leading to a false reading on the dipstick. Once parked, switch off the engine completely.
Crucially, you must allow the engine to cool down. Ideally, wait for at least 15 to 20 minutes after turning off the engine. This waiting period allows all the engine oil that has been circulating to drain back down into the oil pan (sump). If you check the oil too soon, a significant amount of oil might still be in the upper parts of the engine, leading to an artificially low reading. For the most accurate check, some manufacturers even recommend checking when the engine is stone cold, such as first thing in the morning.
2. Locate the Engine Oil Dipstick
With your car prepared, open the bonnet (hood) of your vehicle. You'll need to locate the engine oil dipstick. This is usually a thin, metal rod with a brightly coloured handle, most commonly yellow or orange, designed to be easily visible against the engine's darker components. It typically has a loop or a flat grip for pulling. The dipstick is usually situated on one side of the engine block. If you're having trouble finding it, refer to the diagram in your car's owner's manual, which will clearly show its exact location.
Once you've spotted it, make a mental note of its position. It's often close to the front or side of the engine, sometimes near the oil filler cap (which is usually a black cap with an oil can symbol).
3. Remove and Thoroughly Clean the Dipstick
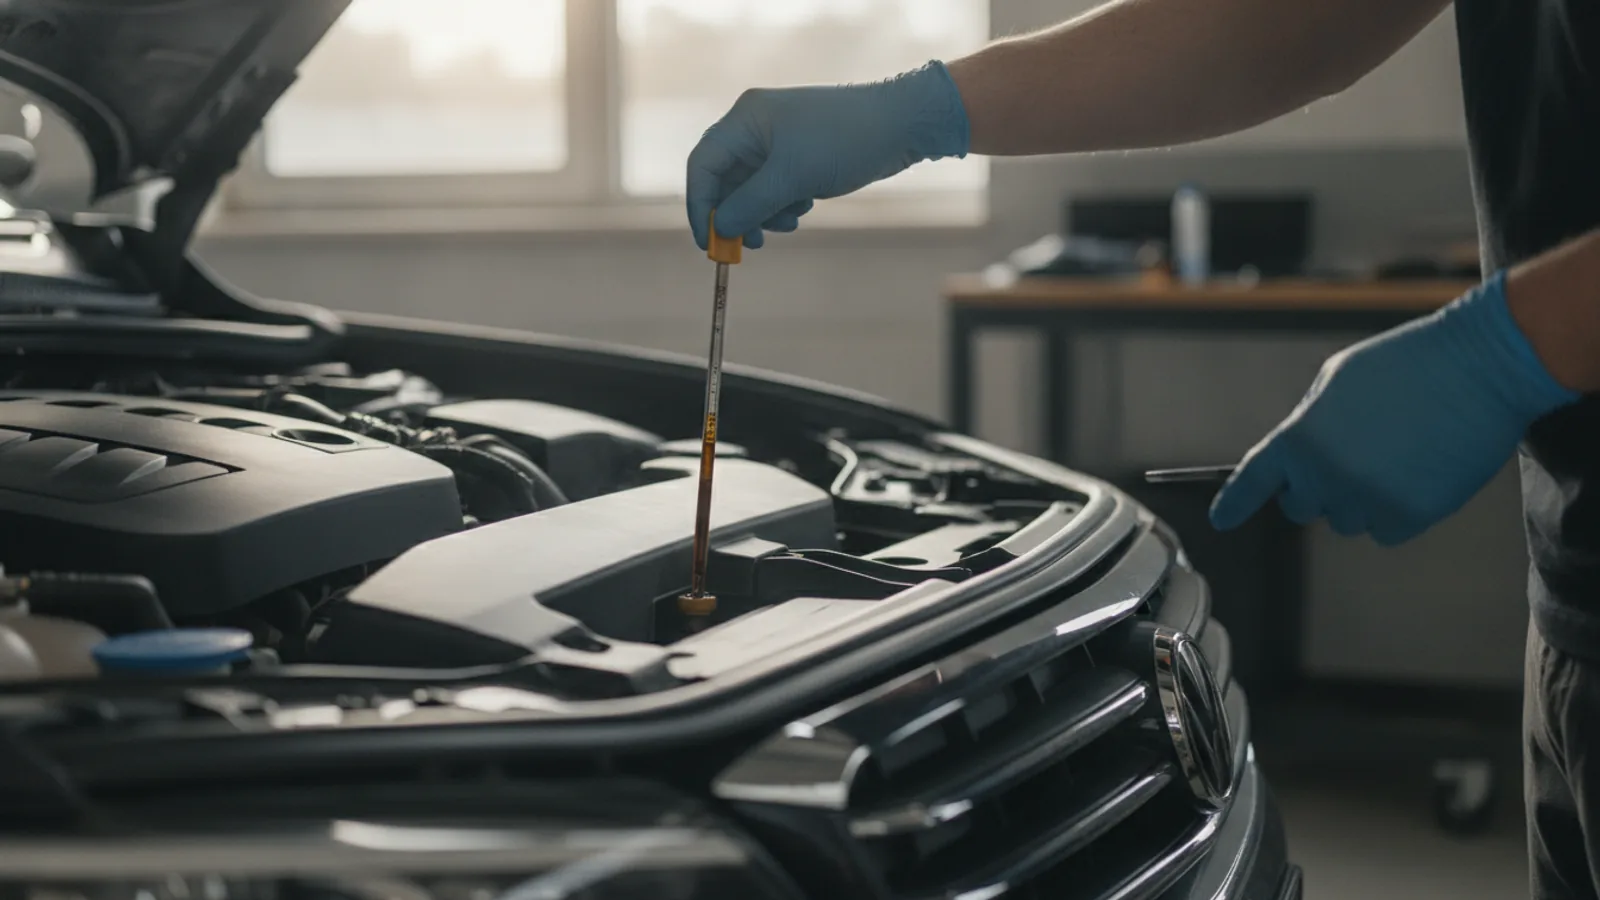
Carefully grasp the dipstick handle and pull it straight out from its tube. Be gentle but firm. As you pull it out, you will notice that the end of the dipstick is likely covered in engine oil. Some oil might drip, so keep your rag or paper towel ready.
Using your clean rag or paper towel, completely wipe all the oil off the metal part of the dipstick. Pay close attention to the end, where the "min" and "max" (or "low" and "full") marks are located. It's crucial that this section is perfectly clean so you can get an accurate reading on the next pull. A quick wipe isn't enough; ensure there's no residual oil that could smear and confuse the actual oil level.
4. Reinsert the Dipstick Fully and Wait
Once the dipstick is completely clean, gently slide it back into its tube. Ensure it goes all the way in until the handle is seated firmly in its original position. It should feel like it's clicked or settled properly. Do not force it if it feels stuck; gently twist and push until it's fully seated. If the dipstick isn't inserted all the way, your reading will be incorrect.
After reinserting it, wait for a few seconds, typically 3-5 seconds. This short pause allows the oil on the dipstick to settle and accurately reflect the engine's oil level. Some people recommend waiting slightly longer, up to 10 seconds, especially if the oil is very thick or cold. This step is vital to allow the oil to coat the dipstick accurately.
5. Remove Again and Read the Oil Level
Now, carefully pull the dipstick out for the second time. This is the moment to get your accurate reading. Hold the dipstick horizontally to prevent oil from running up or down the shaft, which could make the reading difficult. Look at the end of the dipstick where the 'min' and 'max' (or 'low' and 'full') marks are. These are usually indicated by small holes, notches, or a cross-hatched area.
The oil level should fall between these two marks. Ideally, it should be closer to the 'max' or 'full' mark. If the oil level is below the 'min' mark, your engine is low on oil and needs to be topped up immediately. If it's exactly on the 'min' mark, it's also a good idea to add a small amount. If the oil level is above the 'max' mark, you have too much oil, which can also cause problems.
6. Assess the Oil's Colour and Condition
While you're checking the level, also take a moment to inspect the condition of the oil itself. Good, clean engine oil is typically translucent and has an amber or light brown colour. As oil gets older and accumulates contaminants from engine operation, it will darken, becoming dark brown or even black. Dark oil isn't always a cause for immediate concern, as it often means the oil is doing its job by cleaning the engine.
However, you should also check for other warning signs. Look for any metallic particles, which could indicate excessive engine wear. Feel the oil between your thumb and forefinger; it should feel smooth and slightly slippery. If it feels gritty, it's definitely time for an oil change. Also, a milky or frothy appearance can signal coolant (antifreeze) contamination, which is a serious issue that requires immediate professional attention.
7. Top Up Engine Oil (If Necessary)
If your oil level is below the 'min' mark, you'll need to add oil. First, locate the oil filler cap on your engine. This is usually a screw-on cap with an oil can symbol. Unscrew and remove the cap.
Place a clean funnel into the oil filler opening. Carefully pour a small amount of the correct type of engine oil into the funnel. It's better to add too little than too much. For most cars, the difference between the 'min' and 'max' marks is about one litre of oil. So, if your oil is at the 'min' mark, start by adding about half a litre (500ml). Wait a few minutes for the oil to settle, then repeat steps 3, 4, and 5 (wipe, reinsert, pull, read) to recheck the level.
Continue adding small amounts and rechecking until the oil level is within the 'min' and 'max' range, ideally closer to the 'max' mark. Do not overfill the engine, as this can cause its own set of problems.
8. Secure the Dipstick and Filler Cap
Once you've achieved the correct oil level, or if no top-up was needed, it's crucial to properly secure everything. Reinsert the dipstick fully into its tube until it clicks or seats firmly. Ensure it's pushed all the way in to prevent dirt and debris from entering the engine and to stop oil from splashing out during operation.
Next, replace the oil filler cap and screw it on tightly. Make sure it's snug, but do not overtighten it. A loose filler cap could lead to oil leaks or allow contaminants into your engine. Give it a gentle tug to confirm it's securely fastened.
Finally, close your car's bonnet securely. You should hear it latch properly. Give it a gentle push down to ensure it's fully closed and locked. Always double-check this before driving off.
Quick Reference
| Situation | Use this | Why |
|---|---|---|
| Oil below 'min' mark | Add correct type of engine oil in small increments (e.g., 250ml-500ml) and recheck. | Low oil causes increased friction and wear, leading to serious engine damage. |
| Oil looks milky or frothy | Do not drive the car; consult a professional mechanic immediately. | Indicates coolant contamination, a sign of a blown head gasket or cracked engine block. |
| Oil contains metallic particles or is gritty | Schedule an oil change and have engine inspected by a mechanic. | Suggests excessive internal engine wear, which can worsen if not addressed. |
| Oil level above 'max' mark | Remove excess oil (may require professional draining) or consult a mechanic. | Too much oil can cause aeration (foaming), leading to reduced lubrication, increased pressure, and seal damage. |
| Checking oil before a long journey | Always check when the engine is cold (e.g., first thing in the morning) for the most accurate reading. | Ensures optimal oil level for sustained driving, reducing risk of issues on the road. |
Common Problems When You How To Check Oil In Car
- Dipstick Hard to Read: Sometimes the oil is so clean or the dipstick design makes it difficult to see the oil level line.
Fix: Pull the dipstick out, wait a few seconds, then hold it at an angle against a clean white paper towel or tissue. The oil will leave a visible mark, making the level clearer. Also, try reading it in different lighting conditions.
- Oil Looks Milky or Frothy: This is a serious problem.
Fix: This usually indicates that coolant (antifreeze) is mixing with your engine oil, often due to a blown head gasket or a cracked engine block. Do not drive the car. Have it towed to a professional mechanic immediately for diagnosis and repair.
- Oil Level Doesn't Change After Topping Up: If you add oil and the level still reads low after rechecking.
Fix: Ensure you are waiting long enough (5-10 minutes) for the added oil to drain completely into the sump before rechecking. Also, ensure the dipstick is fully inserted each time you take a reading. If the problem persists, you might have a significant oil leak or a faulty dipstick/tube, and a mechanic should investigate.
- Dipstick Stuck or Hard to Remove: Over time, dirt or corrosion can make the dipstick difficult to pull out.
Fix: Apply gentle, even pressure while wiggling the dipstick. Avoid excessive force that could bend it. If it remains stuck, try spraying a small amount of penetrating oil (like WD-40) around the base of the dipstick tube and allow it to sit for a few minutes before trying again. If it's still stuck, professional help may be needed to avoid damage.
- Oil Smells of Fuel: If the oil on the dipstick has a strong smell of petrol or diesel.
Fix: This can indicate various issues such as worn piston rings, faulty fuel injectors, or a rich fuel mixture. Fuel dilutes the oil, reducing its lubricating properties and leading to premature engine wear. It's best to consult a mechanic for diagnosis and repair.
Advanced Tips for How To Check Oil In Car
- Always Refer to Your Owner's Manual: While this guide provides general advice, your car's owner's manual is the definitive source for specific instructions regarding how to check oil in car. It will specify the exact oil type, capacity, recommended checking frequency, and whether the engine should be hot or cold for the most accurate reading. Some high-performance cars, for example, have electronic oil level sensors and no physical dipstick, requiring a different procedure via the dashboard menu.
- Monitor Oil Consumption: Over time, all engines consume some oil. Keeping a log of when you check your oil, your mileage, and how much (if any) you add can help you understand your car's normal oil consumption rate. A sudden increase in oil consumption could be an early warning sign of an engine problem, such as worn piston rings or valve seals.
- Check Other Fluids Simultaneously: When you're under the bonnet to check your engine oil, take a few extra minutes to check other vital fluids. This includes engine coolant, brake fluid, power steering fluid, and windscreen washer fluid. Regularly checking these fluids is part of a comprehensive routine maintenance schedule and can help prevent various mechanical issues.
- Understand Oil Grades and Types: Modern engines often require specific oil grades (e.g., 5W-30) and types (e.g., synthetic, semi-synthetic). Using the correct oil is crucial for proper lubrication and engine longevity. Synthetic oils generally offer better performance and protection, especially in extreme temperatures, but they might not be necessary or recommended for all vehicles. Stick to the manufacturer's recommendations.
- Schedule Regular Oil Changes: Checking your oil level is crucial, but it doesn't replace regular oil and filter changes. Oil degrades over time and loses its effectiveness, regardless of the level. Follow your car manufacturer's recommended service intervals, typically every 10,000 to 15,000 miles or once a year, whichever comes first. Regular oil changes are the best way to ensure your engine remains healthy and efficient.
How To Check Oil In Car FAQ
- How often should I check my oil?
It's generally recommended to check your engine oil level at least once a month or before a long journey. However, for older cars or vehicles known to consume oil, checking every two weeks or every 1,000 miles (approximately 1,600 km) is a good practice.
- What if my oil is too high?
If the oil level is significantly above the 'max' mark, it's not good for your engine. Overfilling can cause the crankshaft to churn the oil, leading to aeration (foaming). This reduces the oil's lubricating properties and can increase pressure within the engine, potentially damaging seals and gaskets, leading to leaks. It's best to have a mechanic drain the excess oil.
- What type of oil should I use when topping up?
Always use the specific type and viscosity of oil recommended in your car's owner's manual. Using the wrong type of oil can lead to reduced engine performance, increased wear, and potentially severe damage. The manual will specify codes like 5W-30, 0W-20, along with any relevant API or ACEA specifications.
- Can I check oil when the engine is hot?
It's generally advised to check the oil when the engine has been off for at least 15-20 minutes, allowing oil to drain back into the sump. Checking a hot engine can give an inaccurate (often lower) reading because oil is still circulating, and it poses a burn risk from hot engine components. Some manufacturers specify checking when warm, but never immediately after a drive.
- My car has an electronic oil level indicator. Do I still need to check manually?
If your car has an electronic oil level sensor, follow the instructions in your owner's manual to check the level via the dashboard display. These systems are usually very accurate. However, a manual dipstick check can still provide a visual confirmation of the oil's colour and consistency, which electronic sensors cannot detect. If you have both, a periodic manual check for condition is still a good idea.
Final Checklist for How To Check Oil In Car
- Car parked on level ground?
- Engine off and cool for at least 15-20 minutes?
- Clean rag or paper towels ready?
- Dipstick pulled out, wiped clean, and fully reinserted once?
- Dipstick pulled out again and oil level between 'min' and 'max' marks?
- Oil visually inspected for colour, consistency, and foreign particles? (e.g., no milky appearance, no grit)
- If topping up, correct oil type used and added in small amounts?
- Dipstick fully reinserted and oil filler cap securely tightened?
- Bonnet properly closed and latched?
- Any concerns about oil condition or level addressed promptly? (e.g., plan for an oil change or mechanic visit)
What should I check before acting on advice about how to check oil in car?
Use this guide as a starting point, compare current specifications and costs, and check the details that apply to your own situation before making a purchase or booking.
Where can I find related engine-dashboard guidance?
Browse the related guides in this section for practical comparisons, planning notes, and next steps that support the same decision.