How To Check Engine Oil
A practical step-by-step guide to how to check engine oil, including preparation, instructions, common issues, tips, and next steps.
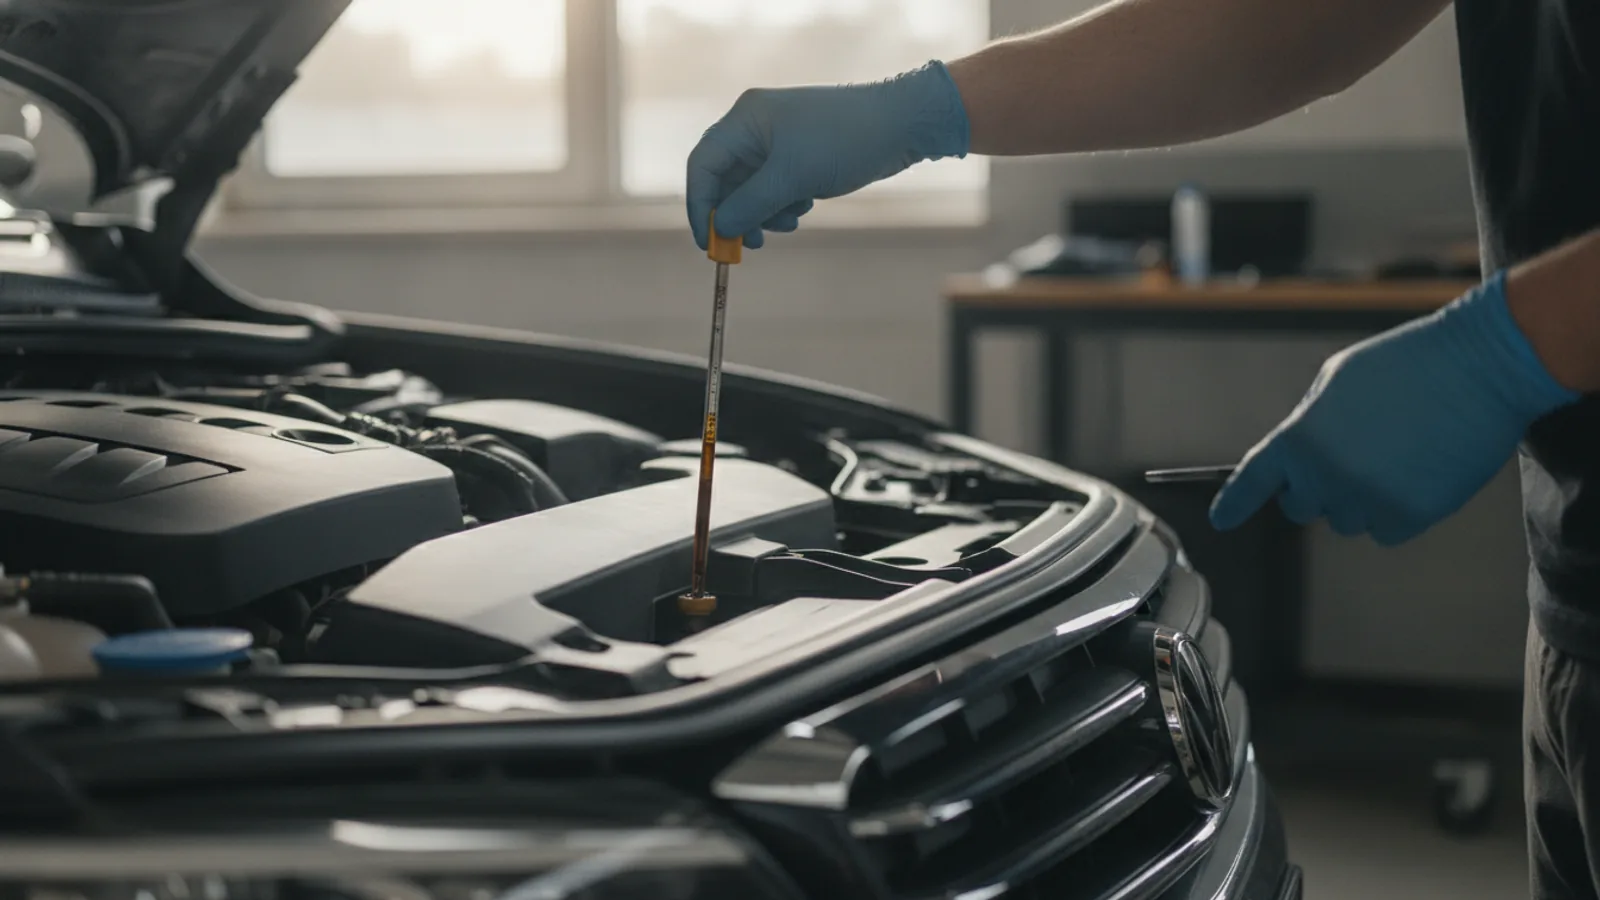
How To Check Engine Oil
Checking your engine oil is one of the most important and simple bits of car maintenance you can do yourself. This guide provides clear, practical steps to accurately check your oil level and assess its condition. Following this routine check, which takes less than ten minutes, helps prevent engine damage, improves performance, and can save you from expensive repairs. It's a vital skill for any car owner, ensuring your vehicle runs smoothly and reliably.
Fast Answer
- Park: On level ground.
- Engine State: Warm, but turned off for 5-10 minutes.
- Action: Pull dipstick, wipe, re-insert fully, pull again.
- Check: Level should be between MIN and MAX marks.
Before You Start
- Level Ground: Your car must be parked on a flat, level surface to get an accurate oil reading. A slope can cause the oil to pool on one side of the oil pan, giving a false high or low reading.
- Warm Engine: For most cars, the engine should be at its normal operating temperature. A quick 5-10 minute drive is usually sufficient. Oil expands when warm, so checking it cold will give an inaccurate, low reading.
- Wait a Few Minutes: After turning the engine off, wait at least 5-10 minutes. This allows the warm oil circulating through the engine to drain back down into the oil pan (the sump), where the level is measured.
- Paper Towels or a Rag: You'll need something clean and lint-free to wipe the dipstick.
- Gloves (Optional): Disposable nitrile gloves will keep your hands clean from oil and grime.
- Your Car's Manual: This is the most important tool. It will tell you the exact type of oil your car needs and may have specific instructions for your model.
Step-by-Step Instructions
Prepare Your Vehicle
Ensure your car is parked securely on a level surface. A slight incline can significantly alter the oil level reading on the dipstick. If you've just been driving, turn the engine off and wait about 5-10 minutes. This gives the oil enough time to settle in the sump. Open the bonnet (often called the hood) and secure it with its prop rod. If your bonnet uses gas struts, ensure they hold it up firmly before you put your head or hands in the engine bay.
Locate and Remove the Dipstick
The engine oil dipstick is usually easy to find. Look for a brightly coloured (often yellow, orange, or red) plastic ring or T-shaped handle. It's a long, thin metal rod that goes directly into the engine block. In some cars, it might have an oil can symbol on it. Once you've found it, pull it out firmly and smoothly. It might offer a little resistance as it pulls past the O-ring seal, which is normal.
Wipe the Dipstick Clean
Take your paper towel or clean rag and wipe the entire end of the dipstick clean, from the handle down to the tip. Oil will have been splashed onto the dipstick while the engine was running, so this initial reading is not accurate. You need a clean surface to get a true measurement of the oil level in the sump. Be thorough and remove all oil residue.
Re-insert the Dipstick for a Reading
Slowly and carefully push the clean dipstick all the way back into its tube. Make sure it goes in completely until the handle is seated flush against the top of the tube, just as it was before you removed it. If it isn't pushed in all the way, your reading will be inaccurate. There's no need to wait; you can pull it straight back out again.
Read the Oil Level
Pull the dipstick out once more and hold it horizontally to prevent the oil from running up or down the stick. Look at the very end of the dipstick. You will see two markings. These could be two small holes, two notches, two lines, or a cross-hatched area. The lower mark indicates the minimum oil level (MIN or "Add"), and the upper mark indicates the maximum level (MAX or "Full"). The film of oil should be between these two marks. Ideally, it should be close to the MAX mark without going over it.
Assess the Oil's Condition
While checking the level, also look at the oil's colour and consistency. New, clean oil is typically a light amber or honey colour. Used oil will be darker, ranging from dark brown to black. This is normal, as the oil picks up soot and other byproducts of combustion. However, you should be concerned if the oil looks milky or frothy (like a coffee-coloured milkshake), as this can indicate that coolant is leaking into the engine. If you feel any gritty or metallic particles when rubbing the oil between your fingers, it could be a sign of internal engine wear.
Add Oil if Necessary
If the level is at or below the MIN mark, you need to add oil. First, locate the oil filler cap on top of the engine. It's usually a large, black plastic cap that you can unscrew by hand, often marked with the same oil can symbol as the dipstick or the word "OIL". Unscrew it and place a funnel in the opening to avoid spills. Add a small amount of the correct grade of oil at a time—about 250ml (a quarter of a litre)—then wait a minute for it to drain down. Re-check the level with the dipstick. Repeat this process until the level is near the MAX mark. Do not overfill.
Finish Up and Clean
Once the oil level is correct, remove the funnel. Securely screw the oil filler cap back on until it's tight. Push the dipstick all the way back into its tube. Check that you haven't left any rags, paper towels, or the oil bottle in the engine bay. Finally, carefully lower the bonnet and press down firmly to ensure it has latched securely. Dispose of your oily rags or paper towels responsibly.
Common Problems When You Check Engine Oil
Even a simple task can have tricky moments. Here are some common issues and how to handle them.
- Can't Read the Dipstick: Sometimes, especially with very new, clean oil, it can be hard to see the level. Try holding the dipstick under a good light and tilting it back and forth to see where the "wet" oil film ends. If the oil is very old and black, the reading is usually obvious.
- Oil Level is Above the MAX Mark: Overfilling the engine with oil is as bad as underfilling it. Excess oil can get churned into a foam by the crankshaft, reducing its ability to lubricate. This can lead to increased pressure, blown seals, and engine damage. If you have significantly overfilled the engine, do not start it. The excess oil will need to be drained out by a mechanic or by carefully loosening the sump plug yourself.
- No Oil on the Dipstick at All: If you pull the dipstick and it's completely dry, your engine is dangerously low on oil. Do not start the car. Add about one litre of the correct oil immediately and check the level again. Keep adding oil in small increments (about 500ml at a time) and re-checking until the level reaches the MIN mark. Once it's on the dipstick, you can add smaller amounts to bring it up to the MAX mark. A car that has lost this much oil likely has a serious leak or is burning oil, and it should be inspected by a professional.
- The Oil Looks Milky or Watery: A creamy, milky, or coffee-coloured residue on the dipstick is a classic sign that coolant is mixing with your oil. This is often caused by a failed head gasket, which is a serious and expensive repair. If you see this, do not drive the car. Have it towed to a garage for a professional diagnosis.
Advanced Tips for Checking Engine Oil
Once you've mastered the basics, these tips can help you better understand your engine's health.
- Establish a Routine: Check your oil every two weeks or before any long journey. Regular checks help you spot slow leaks or increased oil consumption early, before they become major problems. It's helpful to check it at the same time you check your tyre pressures.
- Understand Oil Grades: The numbers on an oil bottle (like 5W-30 or 10W-40) refer to its viscosity, or thickness, at different temperatures. Your car's manual specifies the exact grade needed for your engine. Using a different grade can affect performance and protection. The "W" stands for "Winter," indicating the oil's performance in cold weather.
- Keep a Log: If you're concerned your car is using oil, keep a simple log. Note the date, mileage, and how much oil you had to add. This data is incredibly useful for a mechanic if you need to have the car inspected for oil consumption issues.
- Check for Leaks: When you check the oil, take a quick look under the car for any fresh drips on the ground. Also, glance around the engine bay for any areas that look wet or are covered in fresh grime, which can indicate a leak from a gasket or seal. The oil filler cap and the sump plug are common sources of slow leaks.
Quick Reference
| Oil Condition | What to Do | Why |
|---|---|---|
| Amber / Honey Coloured | This is normal. Just ensure the level is correct. | This is the colour of new, clean engine oil. |
| Dark Brown / Black | This is also normal for used oil. Check service history for when the next oil change is due. | Oil darkens as it cleans the engine and collects combustion byproducts. |
| Milky / Light Brown / Frothy | Do not drive the car. Have it inspected by a mechanic. | This indicates coolant is mixing with the oil, likely due to a head gasket failure. |
| Gritty or Metallic Flecks | Schedule an oil change and have the engine checked by a professional. | This can be a sign of significant internal engine wear. |
How To Check Engine Oil FAQ
How often should I check my engine oil?
A good rule of thumb is to check your oil at least once a month, and always before a long road trip. Older cars, or those with high mileage, may consume more oil and benefit from more frequent checks, such as every two weeks or every other time you fill up with fuel.
What happens if I drive with low engine oil?
Driving with low oil is extremely dangerous for your engine. Oil is essential for lubricating moving parts, cooling the engine, and cleaning away debris. Without enough oil, friction between parts increases dramatically, causing excessive heat and wear. This can quickly lead to catastrophic engine damage, such as seized bearings or pistons, resulting in a repair bill that can cost thousands of pounds.
Can I mix different brands or types of oil?
While it's best to use the same brand and type of oil for topping up, mixing different brands of the *same viscosity grade* (e.g., 5W-30) is generally acceptable in an emergency. However, you should never mix different viscosity grades (e.g., mixing 5W-30 with 10W-40) or different types of oil (e.g., mixing synthetic with conventional mineral oil) unless your manual specifically says it's okay. Doing so can compromise the oil's performance and protective qualities.
My car has an electronic oil monitor. Do I still need to check the dipstick?
Yes, it's a very good idea. Electronic sensors can fail, and they typically only warn you when the level is critically low. A manual dipstick check gives you a more precise reading and, crucially, allows you to physically inspect the condition of the oil itself. Think of the electronic monitor as a last-resort warning system, and the dipstick as your primary tool for proactive maintenance.
Final Checklist for Checking Engine Oil
Before you close the bonnet, run through this final checklist to make sure you've done everything correctly.
- Parked on Level Ground: Is the car on a flat surface?
- Engine Timed Correctly: Did you check when the engine was warm but had been off for at least 5 minutes?
- Accurate Reading: Did you wipe the dipstick clean before taking your final measurement?
- Correct Level: Is the oil level between the MIN and MAX marks, and ideally closer to MAX?
- Oil Filler Cap Secure: Is the cap you removed to add oil screwed back on tightly?
- Dipstick Fully Inserted: Is the dipstick pushed all the way back into its tube?
- Engine Bay Clear: Have you removed all tools, rags, and oil bottles from the engine bay?
- Bonnet Latched: Is the bonnet securely closed?