How To Change A Tire
A practical step-by-step guide to how to change a tire, including preparation, instructions, common issues, tips, and next steps.
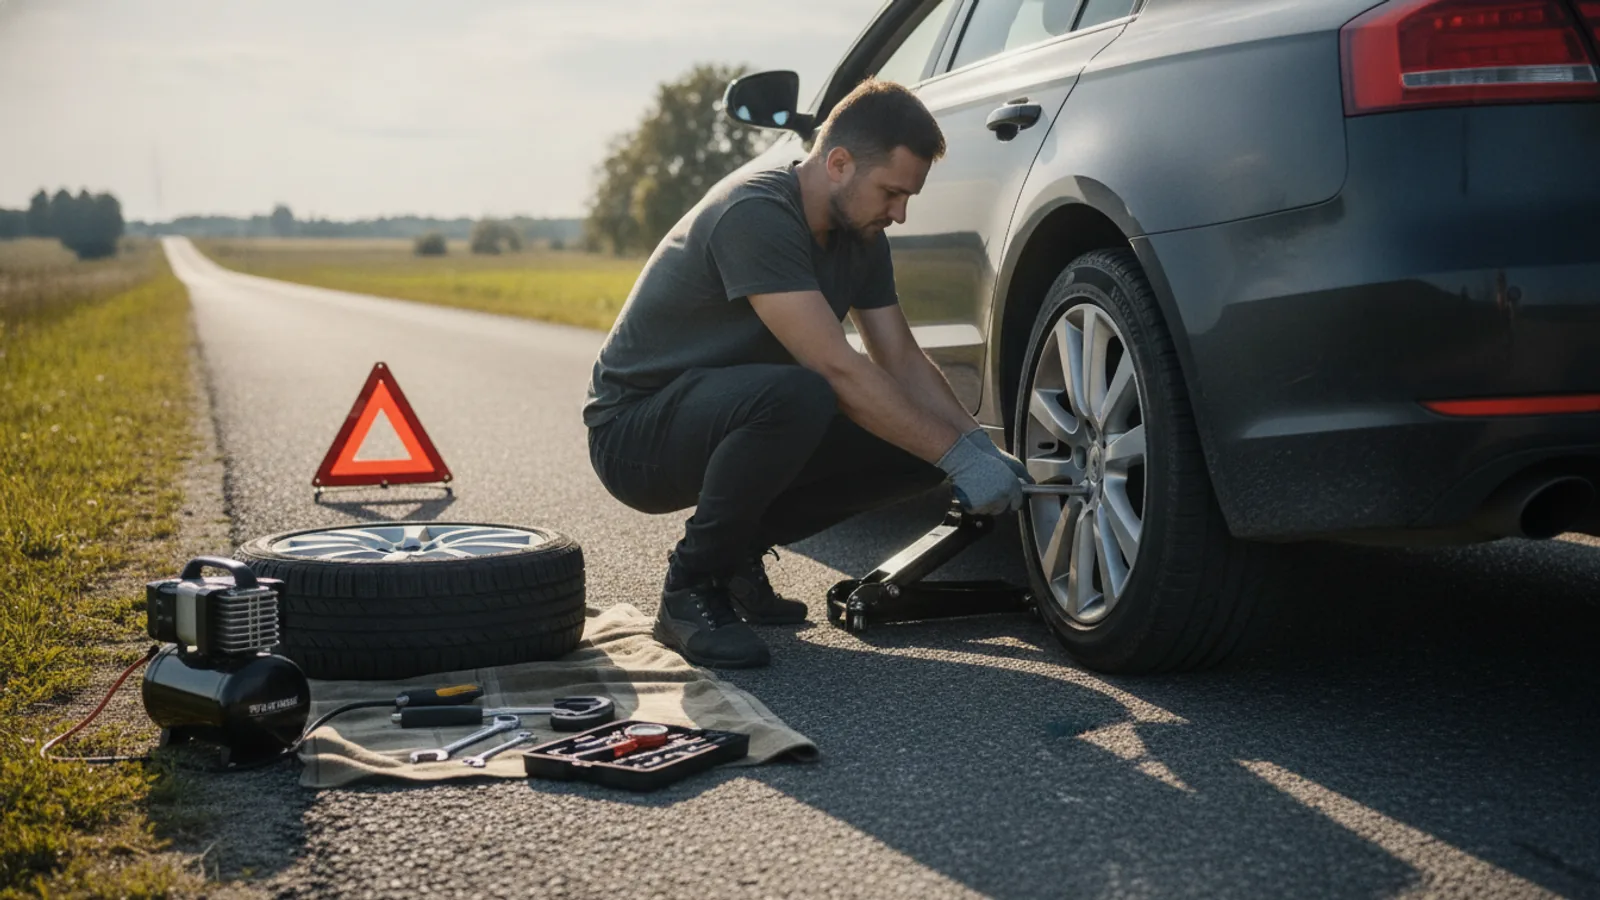
How To Change A Tire
Getting a flat tyre is an unfortunate but common part of driving. Knowing how to change a tire yourself is a valuable skill that can save you time, money, and the stress of waiting for roadside assistance. This guide provides clear, practical, step-by-step instructions to get you back on the road safely. We'll cover everything from finding a safe place to stop to correctly tightening the last lug nut, ensuring you have the confidence to handle a flat tyre whenever it happens.
Fast Answer
- Park Safely: Find a flat, stable surface far from traffic and engage the handbrake.
- Loosen Nuts: Before lifting, use the lug wrench to slightly loosen the lug nuts on the flat tyre.
- Jack Up Car: Position the jack at the correct point and raise the vehicle until the tyre is off the ground.
- Swap Tyres: Remove the flat, mount the spare, and hand-tighten the lug nuts.
- Lower & Tighten: Lower the car fully and then use the wrench to tighten the nuts in a star pattern.
Before You Start
Preparation is the most critical part of changing a tyre safely. Rushing this stage can lead to accidents or damage to your vehicle. Before you even touch a tool, you must ensure your car is secure and you have everything you need close at hand.
What You Need
Most of these items should already be in your car, typically stored in the boot near the spare tyre. It's a good habit to check they're present and in working order every few months.
- A fully inflated spare tyre: Check its pressure regularly. It may be a smaller "space-saver" tyre.
- Vehicle jack: This is the tool used to lift your car.
- Lug wrench: This is used to loosen and tighten the lug nuts that hold the wheel on.
- Wheel chocks: These wedges stop the car from rolling. If you don't have them, large rocks or bricks can work in an emergency.
- Your vehicle's owner's manual: This is essential for finding the correct jacking points.
- A pair of gloves: Wheels are dirty; gloves will protect your hands.
- A torch: Essential if you get a flat tyre at night.
- A reflective warning triangle: To place on the road behind your car to alert other drivers.
Safety, Timing, and Context Checks
Your immediate environment is the biggest risk factor. Follow these checks without fail.
- Find a safe location: As soon as you realise you have a flat, slow down and look for a safe place to pull over. The ideal spot is a flat, solid, level surface like a car park or a very wide, straight shoulder. Never attempt to change a tyre on a hill, a soft verge, or a narrow bend.
- Be visible: Turn on your hazard warning lights immediately. If you have a reflective warning triangle, place it at least 45 metres (147 feet) behind your car to give other drivers ample warning. If you have a high-visibility jacket, put it on.
- Secure the vehicle: Put the car in 'Park' if it's an automatic, or in first gear or reverse if it's a manual. Most importantly, firmly apply the handbrake.
Step-by-Step Instructions
Follow these steps in order. Do not skip any, as each one is designed to ensure the process is safe and effective.
1. Remove the Hubcap and Loosen the Lug Nuts
Before you lift the car, you need to "break" the seal on the lug nuts. The friction of the tyre on the ground will prevent the wheel from spinning while you apply force. If your wheel has a plastic hubcap or wheel cover, pry it off first. Some cars have a special tool for this, but a flat-head screwdriver often works.
Place the lug wrench onto a lug nut and turn it anti-clockwise (remember: "lefty-loosey, righty-tighty"). You will likely need to use significant force. Don't be afraid to use your body weight by carefully standing on the end of the wrench. Do not remove the nuts completely; just loosen them by about half a turn each. This makes them easy to remove by hand once the car is in the air.
2. Position the Jack and Raise the Vehicle
This is where your owner's manual is crucial. Your car has specific, reinforced points on its frame designed to bear the vehicle's weight. Placing the jack anywhere else can cause serious damage to your car's bodywork or, worse, lead to the jack slipping. These points are usually located on the metal seam running under the doors, often marked with an arrow or a small notch.
Position the jack directly under the correct lifting point. Begin to raise the jack until it makes firm contact with the frame. Double-check its position to ensure it is stable and perpendicular to the ground. Continue to raise the car slowly and smoothly. You need to lift it high enough so that the flat tyre is completely off the ground, with about 15 cm (6 inches) of clearance. This gives you enough room to remove the flat and mount the fully inflated spare.
3. Remove the Flat Tyre
Now that the car is lifted, you can finish unscrewing the lug nuts you loosened earlier. They should now be easy to turn by hand. Remove all of them and keep them together in a safe place, like the removed hubcap or a pocket, so you don't lose any.
With the nuts removed, grasp the tyre with both hands and pull it straight towards you, off the wheel bolts. It may be stuck due to rust or grit. If so, a firm kick to the side of the tyre with the bottom of your shoe can help dislodge it. Once it's off, for an extra layer of safety, slide the flat tyre under the car's frame near the jack. In the unlikely event the jack fails, the car will fall onto the old wheel rather than crashing to the ground.
4. Mount the Spare Tyre
Lift the spare tyre and align its holes with the protruding wheel bolts on the hub. This can be tricky as the spare can be heavy. It can help to sit on the ground and use your feet to help position and support the tyre. Push the wheel all the way onto the hub until it sits flush against the mounting plate. There should be no gap between the wheel and the hub.
Take your lug nuts and screw them back on by hand. Tighten them until they are "finger-tight." This ensures the wheel is properly seated before you lower the car's weight onto it.
5. Lower the Car and Tighten the Nuts
First, remove the old flat tyre from underneath the car. Now, carefully and slowly lower the jack until the spare tyre is resting on the ground and the jack is free. Do not lower it quickly, as this can shock the suspension.
With the car's weight now on the wheel, you can fully tighten the lug nuts. This is a very important step. You must tighten them in a star pattern. This means you tighten one nut, then the one directly opposite it, then another, then its opposite, and so on. For a five-nut wheel, this looks like drawing a star. This technique ensures the wheel is pulled onto the hub evenly, preventing it from wobbling.
Use the lug wrench to tighten the nuts as much as you can. Use firm, steady pressure. You don't need to stand on the wrench at this stage, but they should be very secure.
6. Final Tidy-Up
Your job is almost done. Put the hubcap back on if it fits the spare wheel (many space-savers don't use them). Gather all your tools—the jack, the lug wrench, and the wheel chocks—and stow them securely in your car. Place the flat tyre in the boot where the spare used to be.
Don't forget to collect your reflective warning triangle if you used one. Give your hands a wipe, turn off your hazard lights, and you are ready to drive away carefully.
7. Post-Change Checks and Actions
Getting back on the road isn't the final step. If you've fitted a space-saver spare tyre, you must be aware of its limitations. These tyres are not designed for long-term use. Check the tyre wall for the maximum speed, which is typically 50 mph (80 km/h), and a maximum distance, often around 50 miles.
Your priority should be to drive to the nearest garage to have your original tyre repaired or replaced. While you're there, ask them to check the pressure of the spare tyre and use a torque wrench to ensure the lug nuts are tightened to the manufacturer's specification. This is a quick check that provides peace of mind.
Quick Reference
| Situation | Use this | Why |
|---|---|---|
| The lug nuts won't budge. | Your body weight. | Carefully standing on the wrench provides far more leverage than arm strength alone. |
| Unsure where to place the jack. | The owner's manual. | It shows the reinforced frame points designed to hold the car's weight safely. |
| Using a smaller, "space-saver" spare. | Adhere to speed limits (usually under 50 mph). | These tyres are for temporary, emergency use and are not safe at high speeds or for long distances. |
| My car has a locking wheel nut. | The special locking nut key. | This unique tool is required to remove the anti-theft nut. It's usually in the glove box or with the jack. |
Common Problems When You Change a Tire
Even with a perfect guide, things can go wrong. Here are some common issues and how to handle them.
- The Lug Nuts are Seized: If rust and time have effectively welded the nuts to the bolts, simple force might not be enough. This is more common on older cars or in areas where roads are salted in winter. If you have penetrating oil, use it. If not, try to find a hollow pipe that can fit over the handle of your lug wrench to act as a 'breaker bar', giving you more leverage. Be very careful when doing this to avoid stripping the nut. If it won't budge, calling for professional help is the safest option.
- The Car Shifts on the Jack: This is a terrifying and dangerous situation. It is almost always caused by the car being on uneven or soft ground, or the jack being placed incorrectly. If you notice any shifting or hear creaking sounds, stop what you are doing. Slowly and carefully lower the car, reassess your location and the jack placement, and start again. This is why you should always slide the old wheel under the car for safety.
- The Spare Tyre is Also Flat: This is a frustrating but preventable problem. It's why you should check your spare's pressure every few months and before any long road trip. If you find your spare is flat, there is unfortunately nothing you can do on your own. Your only option is to call for roadside assistance.
Advanced Tips for Changing a Tire
Once you're comfortable with the basics, these tips can make the process smoother and contribute to better overall vehicle maintenance.
- Invest in a Torque Wrench: A lug wrench gets the nuts tight, but a torque wrench gets them correctly tight. Over-tightening can damage the wheel bolts, while under-tightening can lead to the wheel coming loose. A torque wrench lets you tighten the nuts to the precise specification listed in your owner's manual (measured in Newton-metres or foot-pounds). They are an affordable tool and a great addition to any home mechanic's kit.
- Practice in Your Driveway: The best time to learn how to change a tyre is not on a dark, rainy night on the side of a busy road. Do a practice run on a weekend in your driveway. This allows you to familiarise yourself with the tools, locate the jack points, and check your spare's condition in a relaxed, safe environment.
- Use Anti-Seize Compound: If you live in an area with harsh weather, applying a tiny dab of copper or aluminium anti-seize lubricant to the threads of the wheel bolts can prevent them from seizing up with rust. This makes them much easier to remove next time. Be careful not to get any on the tapered seat of the lug nut, as this can affect the torque readings.
How To Change A Tire FAQ
How often should I check my spare tyre's pressure?
What is the 'star pattern' for tightening lug nuts?
Is it okay to call a breakdown service instead?
Why can't I just get my flat tyre repaired?
Final Checklist for Changing a Tire
Before you drive off, run through this quick final mental checklist to ensure you haven't missed anything.
- The vehicle is fully lowered off the jack.
- All lug nuts on the spare wheel are fully tightened using the star pattern.
- The flat tyre, jack, wrench, and other tools are securely stowed in the boot.
- Your reflective triangle and wheel chocks have been collected from the road/around the wheels.
- You have made a mental note of the speed and distance restrictions of your spare tyre.
- Your first stop will be a garage to check pressures and sort out your original tyre.