How To Check Car Fluids
A practical step-by-step guide to how to check car fluids, including preparation, instructions, common issues, tips, and next steps.

How To Check Car Fluids
Learning how to check your car's fluids is one of the most important and straightforward maintenance tasks you can perform. Regularly checking levels of oil, coolant, and other essential fluids helps prevent breakdowns, saves you money on costly repairs, and keeps your vehicle running safely and efficiently. This guide provides clear, step-by-step instructions for inspecting all the key fluids in your car, even if you have no prior mechanical experience.
Fast Answer
- Key Setting: Park on level ground with a cool engine (for most fluids).
- Main Fluids: Engine oil, coolant, brake fluid, power steering fluid, and windscreen washer fluid.
- Core Tool: Your car's owner's manual is your most important reference.
- Frequency: Check monthly and before any long journey.
Before You Start
- Your car's owner's manual. This is essential for locating components and identifying the correct fluid specifications.
- A clean, lint-free cloth or paper towels for wiping dipsticks.
- Disposable gloves to keep your hands clean and protected from chemicals.
- A torch can be helpful for looking into dark parts of the engine bay.
- A funnel (optional, but highly recommended for topping up fluids without spills).
Step-by-Step Instructions
Park Safely and Open the Bonnet
First, ensure your car is parked in a safe, well-lit area on flat ground. Engage the handbrake and make sure the engine is switched off. The engine should be cool to the touch, which usually means waiting at least 30-60 minutes after driving.
Locate the bonnet release lever, which is typically inside the car on the driver's side, near the footwell or underneath the steering column. Pull it until you hear a 'pop' from the front of the car. Walk to the front of the vehicle and find the secondary safety latch, usually a small lever under the front edge of the bonnet. Slide it with your fingers to release the bonnet fully. Lift it and secure it open using the prop rod or, if your car has them, let the gas struts hold it up automatically.
Check the Engine Oil Level and Condition
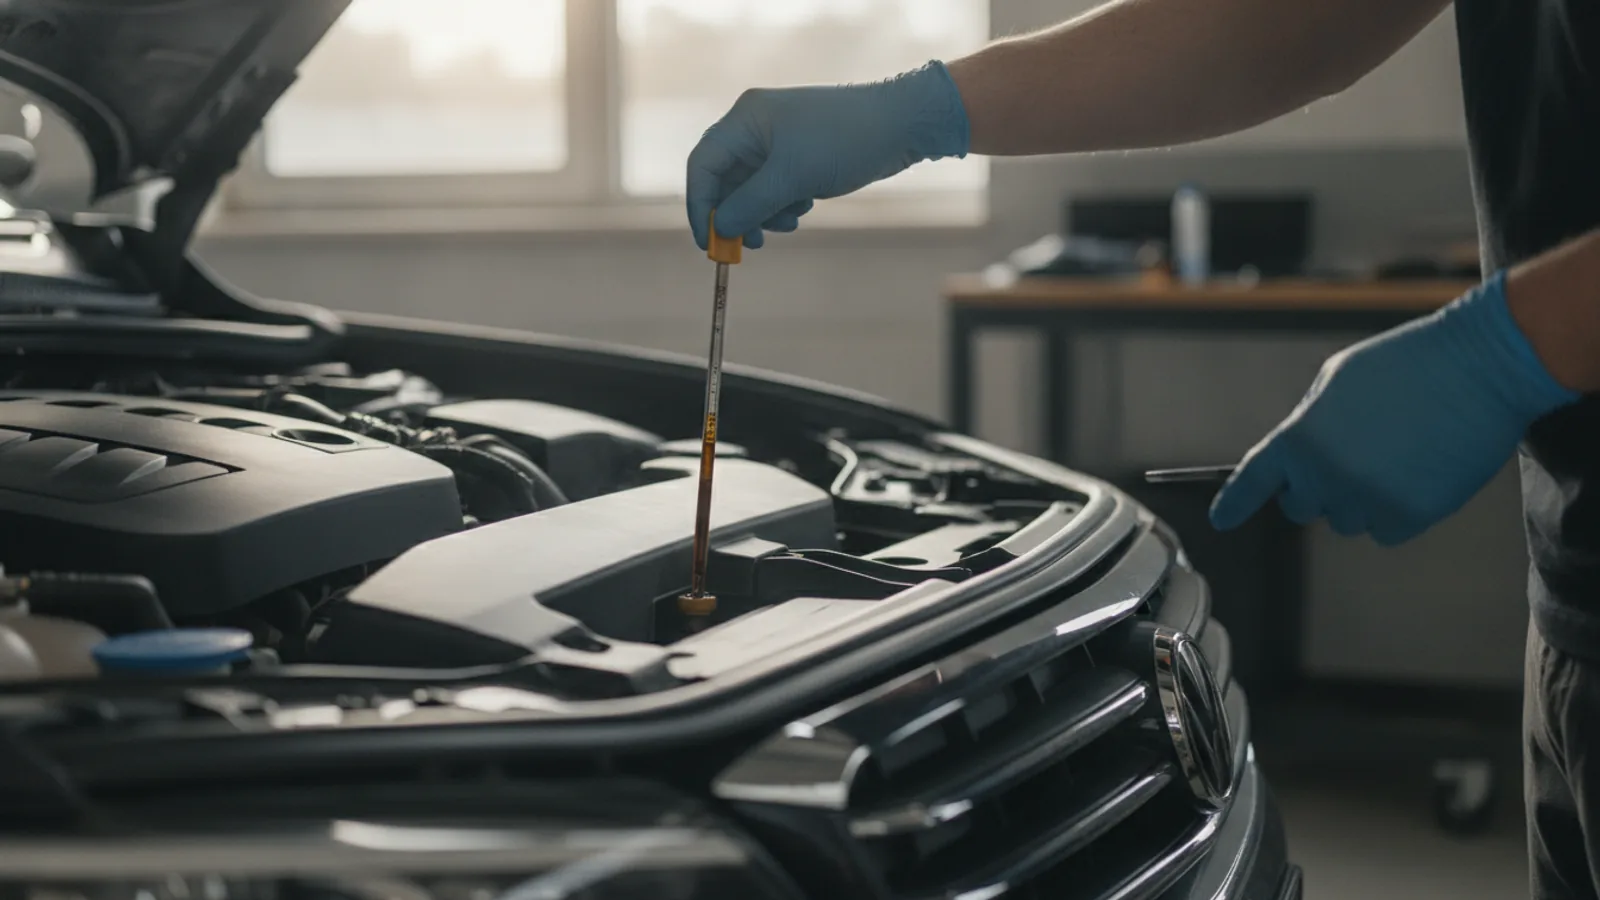
The engine oil is vital for lubricating moving parts and preventing wear. Locate the oil dipstick, which usually has a brightly coloured (often yellow or orange) circular or T-shaped handle. Pull the dipstick all the way out.
Using your cloth or paper towel, wipe the entire metal blade of the dipstick clean. Now, fully re-insert the dipstick back into its tube, ensuring it goes all the way in. Immediately pull it out again and hold it horizontally. Look at the very end of the dipstick; you will see two marks, often labelled MIN and MAX or L (Low) and F (Full). The oil level should be between these two marks. If it's near or below the MIN mark, you need to add oil.
Also, observe the oil's condition. Healthy oil is typically amber or light brown. If it is black and gritty, it's due for a change. If it looks milky or foamy, this can indicate a serious issue like a head gasket leak, and you should have the car inspected by a professional immediately.
Inspect the Engine Coolant (Antifreeze)
Coolant prevents your engine from overheating in summer and freezing in winter. Warning: Never attempt to open the radiator cap or coolant reservoir cap when the engine is hot. The system is highly pressurised and can spray scalding liquid, causing severe burns.
With the engine completely cool, locate the coolant reservoir. This is a translucent plastic tank, usually connected to the radiator by a rubber hose. The tank will have MIN and MAX (or LOW and FULL) markings on the side. You can see the coolant level through the plastic without opening the cap. The level of the brightly coloured fluid (often pink, green, blue, or orange) should be between these two lines.
If the level is low, you will need to top it up. It is crucial to use the correct type of coolant/antifreeze specified in your owner's manual. Mixing different types can cause chemical reactions that damage your cooling system.
Check the Brake Fluid
Brake fluid is a safety-critical component of your vehicle's braking system. Locate the brake fluid reservoir, which is a small, semi-transparent plastic container typically found at the back of the engine bay on the driver's side. The cap often has a warning symbol depicting a circle within brackets.
Similar to the coolant tank, the reservoir will have MIN and MAX lines etched on the side. The fluid level should be between these two marks. Healthy brake fluid is usually clear with a slight yellow tint. If the fluid is dark brown or black, it has absorbed moisture and contaminants and needs to be replaced by a qualified mechanic.
A low brake fluid level can indicate that your brake pads are worn down or, more seriously, that there is a leak in the brake system. If the level is low, top it up with the correct DOT fluid specified in your manual and have your brakes inspected as soon as possible.
Check the Power Steering Fluid
Power steering fluid makes turning the steering wheel easy. Note that many modern cars use electric power steering (EPS) and do not have this fluid to check. Consult your owner's manual to confirm if your car has a hydraulic system.
If it does, find the power steering reservoir. The cap often has a symbol of a steering wheel or text indicating its purpose. Some reservoirs are translucent with MIN/MAX lines, while others have a small dipstick attached to the underside of the cap. For dipstick types, some require the engine to be running while others require it to be off; check your manual for the correct procedure. The dipstick will often have "HOT" and "COLD" level markings. Use the appropriate mark based on whether the engine is warm or cold.
If the level is low, top it up using only the specific type of power steering fluid recommended by your vehicle's manufacturer.
Check the Windscreen Washer Fluid
This is the easiest fluid to check and refill. The windscreen washer fluid reservoir is a large plastic tank, and its cap is almost always blue, featuring a symbol of a windscreen with a jet of water. There is usually no dipstick or specific level indicator other than simply looking into the tank.
Simply flip the cap open and look inside. If the level looks low, you can top it up. It's safe to fill it almost to the top. Use a dedicated screenwash solution rather than just water, as it contains detergents to clean your windscreen effectively and, crucially, antifreeze to prevent the system from freezing and cracking in winter.
Inspect the Transmission Fluid (If Applicable)
Checking automatic transmission fluid is more complex and not applicable to all cars. Many modern vehicles have "sealed-for-life" transmissions with no dipstick, which must be serviced by a mechanic. Manual transmission cars also require professional inspection.
If your automatic car has a transmission fluid dipstick (often with a red handle, but check your manual), the checking procedure is very different from engine oil. Typically, the check must be done when the engine is hot and running, and the gear selector is in Park (P) or Neutral (N). This is dangerous if you're not careful. For this reason, and because the procedure varies significantly between models, we recommend following your owner's manual's instructions precisely or leaving this check to a professional during a routine service.
Quick Reference
| Fluid Check | Engine State | Why |
|---|---|---|
| Engine Oil | Cold (or warm, after 5-10 mins) | Ensures oil has drained back into the sump for an accurate reading. |
| Coolant / Antifreeze | Cold Only | System is pressurised when hot and opening the cap can cause severe burns. |
| Brake Fluid | Cold | The engine state doesn't affect the fluid level in the reservoir. |
| Power Steering Fluid | Check Owner's Manual (Hot or Cold) | Procedures vary; some dipsticks have both hot and cold markings. |
| Automatic Transmission | Hot and Running (Usually) | Fluid expands when hot; level must be checked at operating temperature. |
Common Problems When You Check Car Fluids
- Low Fluid Levels: The most common issue. A slight drop in oil level over thousands of miles is normal, but a sudden drop in any fluid suggests a leak. Top up as needed and monitor the level closely. If you have to top up a fluid like coolant or brake fluid frequently, get the car checked for leaks.
- Dirty or Discoloured Fluid: Fluids degrade over time. Engine oil turns black, brake fluid turns dark brown, and coolant can become rusty-coloured. These are signs that the fluids need to be changed according to your vehicle's service schedule.
- Milky Engine Oil: As mentioned, oil that looks like a creamy coffee or milkshake is a serious red flag. It means coolant is mixing with your oil, likely due to a failed head gasket. Do not drive the car; have it towed to a garage.
- Stuck Dipstick or Cap: Sometimes caps or dipsticks can be hard to remove. Try using a rag for better grip. If it still won't budge, don't force it with tools as you might break it. A little penetrating oil around the base may help, but if in doubt, ask a mechanic for help.
- Inaccurate Readings: If you get a strange reading, double-check that you are parked on perfectly level ground and have followed the correct procedure (e.g., wiping the dipstick clean before the final check).
Advanced Tips for Checking Car Fluids
- Keep a Maintenance Log: Keep a small notebook and pen in your glove compartment. Each time you check your fluids, jot down the date, mileage, and the level of each fluid. This simple habit makes it much easier to spot slow leaks or unusual consumption patterns over time.
- Understand Fluid Specifications: Don't just grab any bottle off the shelf. Using the wrong fluid can cause serious damage. The owner's manual will list the exact specifications needed, such as "5W-30" for oil, "DOT 4" for brake fluid, or a specific type of antifreeze like "OAT". Always match this specification.
- Look for Physical Leaks: When you check your fluids, also take a moment to look around the engine bay for any signs of wetness or drips on components. Also, occasionally glance at the spot where you park your car for any fresh puddles on the ground. A small drip can be an early warning of a bigger problem.
- Check Hoses and Belts: While the bonnet is open, perform a quick visual inspection of the rubber hoses connected to the radiator and other components. Look for cracks, bulges, or fraying. Also, check the serpentine belt (the main belt driving accessories) for any signs of cracking or wear.
How To Check Car Fluids FAQ
How often should I check my car fluids?
A good rule of thumb is to check all major fluids at least once a month. You should also make it a habit to perform a full check before any long road trip to ensure your car is in good condition for the journey.
Can I mix different brands or types of fluids?
It is strongly advised not to. While mixing different brands of the *same specification* of oil is generally okay in an emergency, you should never mix different types of oil (e.g., 5W-30 with 10W-40) or different types of coolant (e.g., OAT with IAT). Mixing incompatible fluids can lead to gelling, corrosion, and severe engine or system damage.
What happens if I overfill the engine oil?
Overfilling the engine oil can be very damaging. The excess oil can get churned into a foam by the crankshaft, reducing its ability to lubricate. This can lead to increased pressure, oil leaks from seals, and potentially serious engine damage. If you overfill it, the excess oil needs to be drained out.
Do electric cars have fluids to check?
Yes, but fewer than petrol or diesel cars. Electric vehicles (EVs) do not have engine oil. However, they still have brake fluid, windscreen washer fluid, and a coolant/thermal management fluid for the battery and power electronics. The procedure for checking these is similar, but always consult the EV's specific owner's manual.
What do the different fluid colours tell me?
Colour is a key indicator of fluid health. New engine oil is golden-amber. Coolant is brightly coloured (pink, green, blue) to make leaks visible. Brake fluid is clear or pale yellow. Power steering and transmission fluid are often reddish. Any fluid that is dark, cloudy, or has particles in it is likely old and needs changing.
Final Checklist for Checking Car Fluids
- Vehicle is parked on level ground.
- Engine is cool before starting checks (especially for coolant).
- Bonnet is open and securely propped.
- Checked engine oil level and colour on the dipstick.
- Checked coolant level in the expansion tank (do not open hot).
- Checked brake fluid level and colour in its reservoir.
- Checked power steering fluid (if applicable, using the correct procedure).
- Checked and topped up windscreen washer fluid.
- All caps and dipsticks are securely replaced.
- Consulted the owner's manual for correct fluid types before adding any.