How Often To Rotate Tires
A practical step-by-step guide to how often to rotate tires, including preparation, instructions, common issues, tips, and next steps.
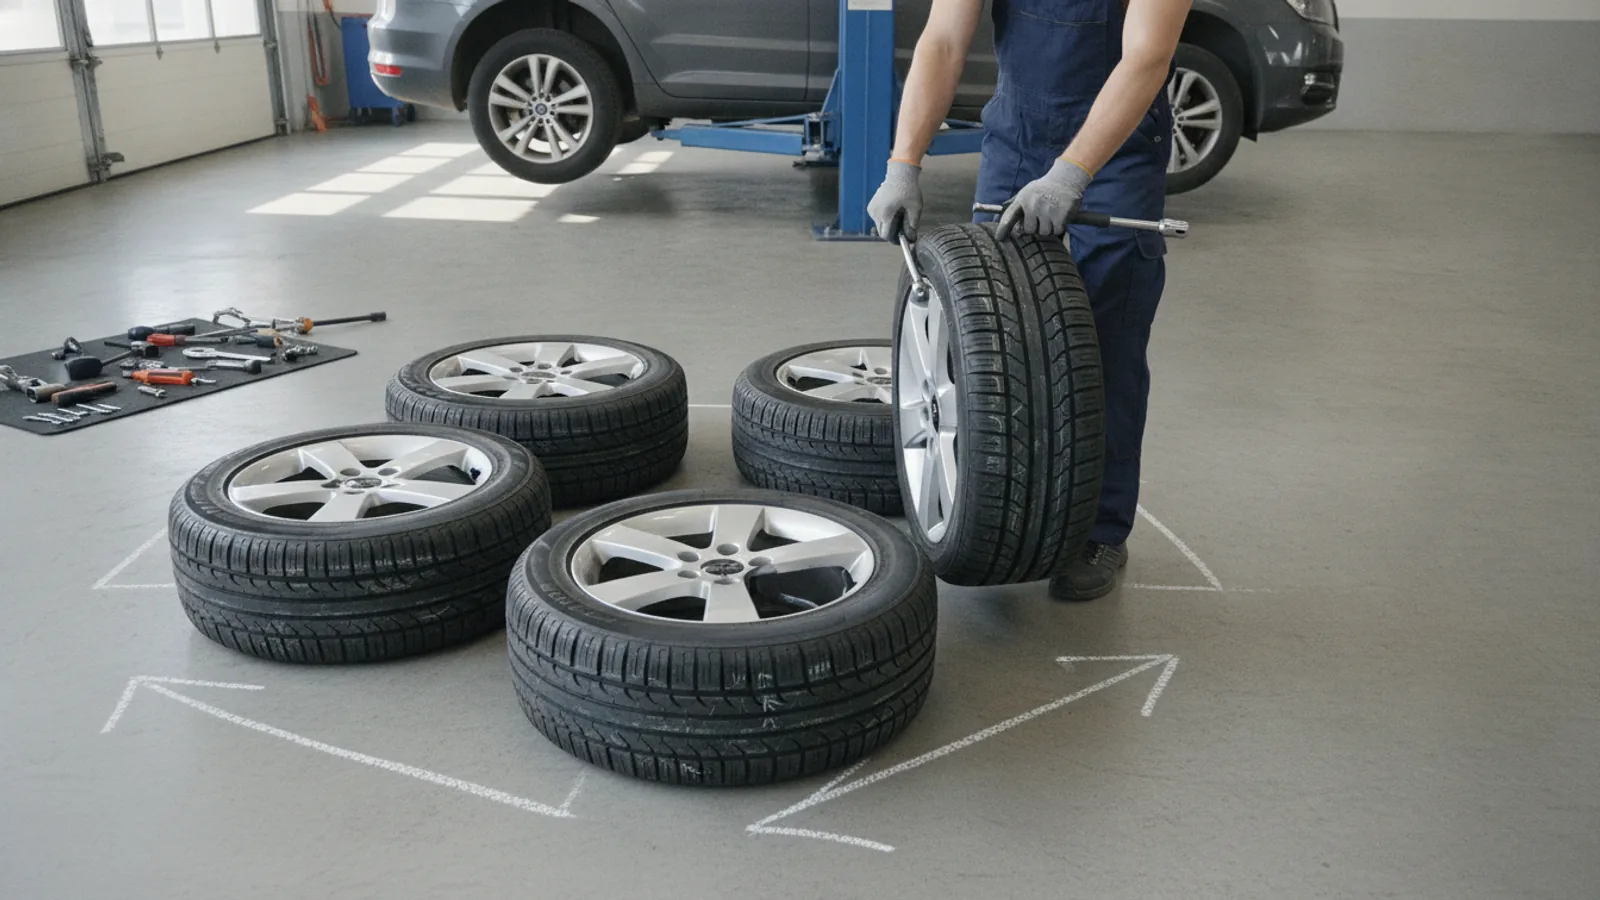
How Often To Rotate Tires
Rotating your tyres is a crucial maintenance task that ensures they wear evenly, extending their lifespan and improving your vehicle's safety and handling. As a general rule, you should rotate your tyres every 5,000 to 8,000 miles, but your car's manufacturer may have a specific recommendation. This guide provides a clear, step-by-step process for safely rotating your own tyres, helping you save money and understand your vehicle better.
Fast Answer
- Frequency: Every 5,000 - 8,000 miles
- Alternative Timing: Every 6 months or with each oil change
- Crucial Reference: Your vehicle's owner's manual
Before You Start
Preparation is the key to a safe and successful tyre rotation. Before you lift the vehicle, gather all your tools and perform essential safety checks. Working on a solid, level surface is non-negotiable.
What You Need
- Vehicle Owner's Manual: This is your most important tool. It contains the correct jacking points, lug nut torque specifications, and recommended rotation pattern.
- Car Jack: A trolley jack is easier and more stable than the scissor jack that comes with most cars.
- Jack Stands: You will need at least two, but four is ideal. They must be rated for the weight of your vehicle.
- Lug Wrench or Breaker Bar: To loosen and tighten the lug nuts. A breaker bar with the correct socket gives you better leverage.
- Torque Wrench: Essential for tightening the lug nuts to the exact specification. Overtightening can damage the wheels, while undertightening is dangerous.
- Wheel Chocks: To prevent the vehicle from rolling while you work.
- Work Gloves: To protect your hands from dirt and scrapes.
Safety, Timing, and Context Checks
Your safety is the absolute priority. A car can weigh over two tonnes, and it must be properly secured before you begin work.
- Find a Flat Surface: Only work on a hard, level surface like a concrete garage floor or a flat driveway. Never work on soft ground, grass, or a sloped surface.
- Check Your Tyres: Before rotating, inspect each tyre for damage, such as cuts or bulges in the sidewall. Check the tread depth; if any tyre is close to the legal limit (1.6mm in the UK), it should be replaced, not rotated.
- Know Your Pattern: Check your owner's manual for the correct tyre rotation pattern. It differs for front-wheel drive, rear-wheel drive, and all-wheel drive vehicles, as well as for cars with directional or different-sized tyres.
Step-by-Step Instructions
Follow these steps carefully to rotate your tyres. If you are unsure at any point, stop and consult your owner's manual or a professional mechanic.
Park and Secure the Vehicle
Park your car on your chosen level surface. Engage the parking brake firmly. If you have an automatic transmission, put it in 'Park'. For a manual transmission, put it in first gear or reverse. Place wheel chocks behind the rear wheels if you are lifting the front first, or in front of the front wheels if you are lifting the rear first. This prevents any possibility of the car rolling.
Loosen the Lug Nuts
Before you lift the car, use your lug wrench or breaker bar to loosen the lug nuts on all four wheels. Do not remove them completely. You only need to break the initial tension, which requires the grip of the tyre on the ground. A quarter-turn to a half-turn counter-clockwise is usually enough. Trying to do this once the wheel is in the air will just cause it to spin.
Lift The Vehicle Correctly
Consult your owner's manual to locate the specific jack points. These are reinforced areas of the car's frame designed to handle the load. Placing the jack in the wrong spot can damage your vehicle's body or undercarriage. Position your jack under the correct point and raise the vehicle until the tyre is a few inches off the ground.
Position the Jack Stands
With one corner lifted, place a jack stand under a solid frame member or designated support point near the jack, as shown in your manual. Slowly lower the jack until the car's weight is resting securely on the jack stand. The jack stand is now bearing the load, not the jack. Wiggle the car gently to ensure it's stable. Repeat this process for all four corners of the car if you have four jack stands, which is the safest method for tyre rotation.
Remove the Wheels and Rotate
With the car safely supported, you can now finish unscrewing the lug nuts by hand. Keep them in a safe place, like a small container or the hubcap, so you don't lose them. Carefully pull the wheel straight off the hub and set it aside. Move each wheel to its new position according to the rotation pattern for your vehicle. The most common pattern for a front-wheel-drive car is the 'Rearward Cross', where the front wheels move straight to the back, and the rear wheels cross over to the opposite sides at the front.
Re-install the Wheels
Mount each wheel onto the studs in its new position. Thread the lug nuts back on by hand until they are snug. This ensures you don't cross-thread them. Once hand-tight, give them a light turn with the lug wrench to ensure the wheel is sitting flush against the hub. Do not fully tighten them yet. You will tighten them in a specific order to ensure even pressure.
Lower the Vehicle and Torque the Nuts
Raise the vehicle slightly with the jack to take the weight off a jack stand, then remove the stand. Carefully lower the car until the tyre just touches the ground but the full weight is not yet on it. Now, use your torque wrench. Set it to the specification listed in your owner's manual (usually measured in Newton-metres or foot-pounds). Tighten the nuts in a star or criss-cross pattern. This means tightening one nut, then the one opposite it, and so on. This ensures the wheel is centred and applies even pressure. Once torqued, lower the car completely and remove the jack. Repeat for all wheels.
Perform Final Checks
Once all four wheels are on the ground and torqued, give each lug nut one final check with the torque wrench to ensure it's at the correct specification. Next, use a tyre pressure gauge to check the pressure in all four tyres and adjust as needed to the recommended PSI, which is usually found on a sticker inside the driver's door jamb. Finally, remember to remove the wheel chocks. It's also a wise safety practice to re-check the lug nut torque after driving for about 25-50 miles, as they can sometimes settle and require a final re-tightening.
Quick Reference: Tyre Rotation Patterns
The correct rotation pattern depends on your vehicle's drivetrain and tyre type. Using the wrong pattern can defeat the purpose of the rotation or be unsafe with certain tyres.
| Vehicle Drivetrain | Common Pattern | Description |
|---|---|---|
| Front-Wheel Drive (FWD) | Rearward Cross | Front wheels move straight to the rear. Rear wheels cross to the opposite sides in the front. |
| Rear-Wheel Drive (RWD) & 4WD/AWD | Forward Cross | Rear wheels move straight to the front. Front wheels cross to the opposite sides in the rear. |
| Directional Tyres | Front-to-Back | Tyres have a one-way tread pattern. They can only be moved from front to back on the same side of the vehicle. |
| Staggered Fitment | Side-to-Side (If not directional) | Front and rear tyres are different sizes. They can only be swapped from left to right on the same axle. |
Common Problems When You Rotate Tires
Even a straightforward job can have its hitches. Here are some common issues and how to solve them.
- A Wheel is Stuck: Sometimes, corrosion can cause a wheel to "seize" to the hub assembly. If it doesn't come off with a firm pull, lower the car slightly and loosen the lug nuts by about one full turn. Driving the car forward and backward a few feet in your driveway can sometimes break it loose. Alternatively, with the car securely on jack stands, you can strike the tyre's sidewall (never the wheel rim) with a rubber mallet from the back to dislodge it.
- Lug Nuts are Stripped: If you use excessive force or an impact gun to tighten lug nuts, you can strip the threads on the nut or the wheel stud. This is why using a hand-operated torque wrench is so important. If a thread is stripped, the nut or stud must be replaced by a professional before the vehicle is safe to drive.
- Vibrations After Rotation: If you feel a vibration through the steering wheel after rotating your tyres, it's likely that one of the wheels that was previously on the rear axle is out of balance. Rear wheel imbalances are less noticeable. The solution is to have a tyre shop re-balance all four wheels.
- Losing the Locking Wheel Nut Key: Many cars have one special locking nut on each wheel to prevent theft. If you lose the key, you will not be able to remove the wheels. Keep the key in a memorable place like your glove box. If it's lost, a tyre shop or dealer has special tools to remove them.
Advanced Tips for how often to rotate tires
Once you're comfortable with the basic process, these tips can help you get more out of the task.
- Incorporate a Full-Size Spare: If your vehicle has a full-size spare tyre that matches the other four, you can include it in the rotation. This is known as a 5-tyre rotation. It extends the life of all five tyres and ensures your spare is in good condition if you ever need it. A common 5-tyre pattern for a FWD car is: the spare goes to the right rear, the right rear goes to the right front, the right front goes to the left rear, the left rear goes to the left front, and the left front becomes the new spare.
- Inspect Your Brakes: With the wheels off, you have a perfect view of your brake components. Look at the thickness of your brake pads. Check the brake discs for any deep grooves or signs of excessive wear. Look for any fluid leaks around the brake callipers or lines. This is a great preventative maintenance opportunity. -
- Clean the Wheel Hub and Inside of the Rim: Use a wire brush to clean any rust or debris from the surface of the wheel hub where it contacts the wheel. This ensures a flush fit and can prevent wheels from getting stuck in the future. Cleaning the inside of your wheels also removes corrosive brake dust. -
- Understand Wear Patterns: Pay attention to how your tyres were wearing before you rotated them. Wear on both outer edges indicates under-inflation. Wear down the centre indicates over-inflation. Scalloped or "cupped" wear patterns can point to worn-out suspension components. Tyre rotation helps even out normal wear, but it won't fix problems caused by improper inflation or mechanical issues.
How Often To Rotate Tires FAQ
Why is rotating tyres so important?
Can I really rotate my own tyres without being a mechanic?
Do electric cars (EVs) need their tyres rotated more often?
What happens if I just don't bother rotating my tyres?
Is a wheel alignment the same as a tyre rotation?
Final Checklist for how often to rotate tires
Before you pack up your tools, run through this final checklist to ensure everything was done correctly and safely.
- Vehicle was parked on a hard, level surface.
- Parking brake was engaged and wheels were chocked.
- The car was supported by correctly placed jack stands before any wheels were removed.
- The correct rotation pattern for the vehicle and tyre type was used.
- Lug nuts were hand-threaded first to prevent cross-threading.
- A torque wrench was used to tighten all lug nuts to the manufacturer's specification.
- The star or criss-cross pattern was used for tightening.
- Tyre pressures were checked and adjusted in all four tyres after the job was complete.
- A reminder is set to re-check the lug nut torque after driving 25-50 miles.